
I googled DIY tutorials on this subject until near-exhaustion looking for something I could manage.
Unfortunately I don't color in the lines, and I don't follow instruction.
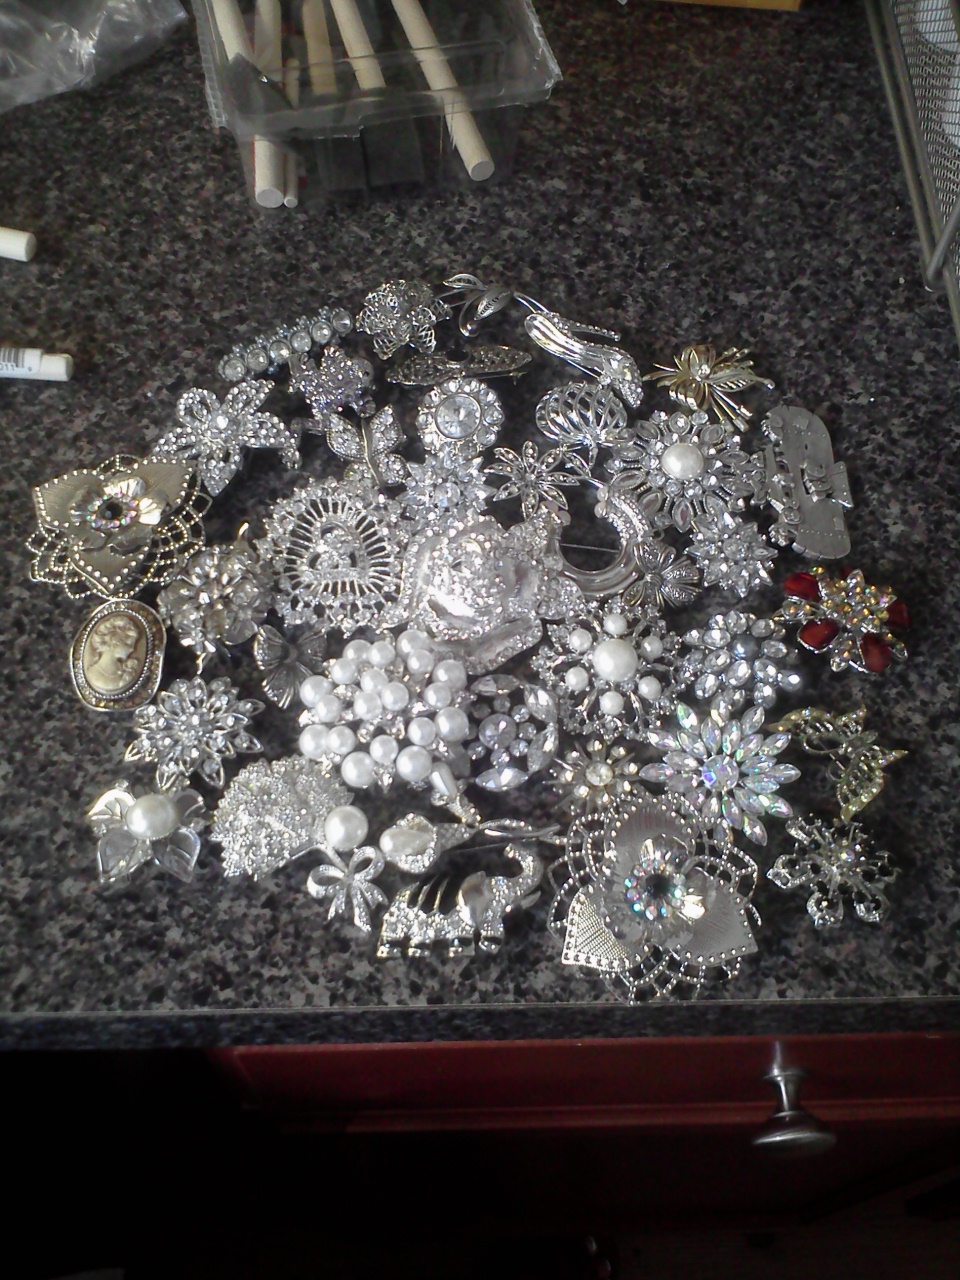
So, here are my materials.
I hope this helps.
Hot Glue Gun
Hot Glue Sticks (seems obvious, but who knows)
Styrofoam Ball (Around 6 inches depending on how big you wanna go)
30-60 Brooches/Earrings/Pendants
Wooden Dowel Between 6-8" in length, 1-1 1/2" in circumference
Stem Holder (Optional)
Fabric or Ribbon
The crossed-through ingredients represent the countless times I tried to make 'stems' out of wire append from the bottoms of the brooches. I really think you have be a combination go Magneto and Wonderwoman. It weren't gonna happen.

So after I ripped the branches apart a third time I said, "Screw it, I'm getting out the Hot Glue gun."
Somewhere my Gay Fairy-Godmother Breathed a sigh of relief and existentialism (While criticizing my leggings).

So then it became simple as I saw through the red-glaze of my zombie-brooch-hot glue stare.
1. Cut the foam ball in half. (I used a kitchen knife, nearly killing myself.) This is not mandatory, but it made it easier to glue on to something that had a flat bottom. You can cut a little less than half off depending on the shape you want.

(if you choose not to cut the foam, a coffee cup is a good base)
2. Arrange the brooches on the table in a circular order. Pick a centerpiece to go off of.
3. Start in the middle of the ball, and begin hot gluing brooches to the foam ball. Try to keep your gaps minimal. Hold the brooches in place while they dry.

4. Now my suggestion here would be to leave it alone for a while and make the HANDLE!
I attached an 8" dowel rod (that I painted white, but that's not necessary) to a bouquet holder with some blue painter's tape. I then hot glue the inside with about an inch-worth go glue around the handle INSIDE the funnel.

I then flipped it upside down and let everything dry for several days.

6. I then push the pins into the exposed foam on the bottom of the foam-bouquet.

(this took a while, but ended up very sturdy)
voila!

Emily Post wouldn't approve of me suggesting how much I spent, but let's just say this endeavor cost 1/3-1/2 what a custom order would have. HOWEVER. It is VERY time-consuming. Give yourself at least a month to do this, so you can change it, drop it...etc. Use as many tutorials as possible because not every technique is going to work for you.
Good Luck!
No comments:
Post a Comment